In this session that we had with Robin, we were told that we were going to start some sessions on ZBrush. This is something that I had been looking forward to for a long time. ZBrush is very similar to Mudbox, a program that you sculpt, like clay. The reason as to why I am looking forward to using this program is it is used throughout the industry every day, where as when it comes to Mudbox, mostly indie developers use the program. In ZBrush you can produce much more detailed pieces of work using more tools.
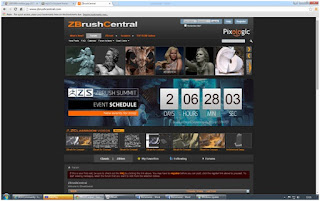 |
| ZBrush Central, great website for ideas. |
To start the lesson off, we were told to go onto ZBrush Central, a website that shows off pieces of work that have been made using ZBrush. This was a great eye-opener, as I could see how detailed the program was and what fantastic pieces of art could actually be created, using it wisely.
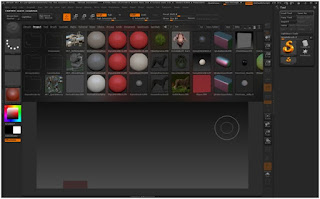 |
| You can choose a template. |
When you open the program, you get given the chance to select a template. These are just set so that if you have trouble constructing something like a body mesh in Maya, you can just select a template version and sculpt straight onto that model. This is great for when you need help coming up with ideas, or if you are desperate to have a head start by having the model ready. Today though we are told that we are going to use a ready made head mesh sp we can see everything that ZBrush has to offer.
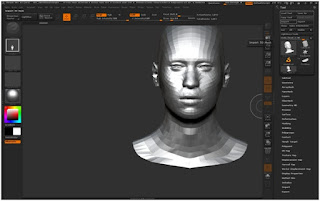 |
| Importing a head mesh. |
Importing the head mesh was not a hard thing to do. All we had to do was select "Import" button on the right side panel and click on the OBJ that was made in Maya. Once this was done I was given a brush that would produce a copy of this head. If I really wanted to, I could make hundreds of these just by clicking the mouse button, but today, I only wanted the one.
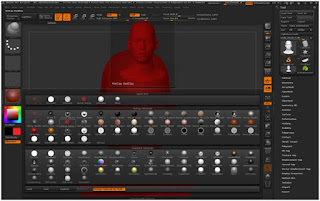 |
| Applying different tones to the mesh. |
I was told that the first thing that I was going to do was to change the color of the model itself, this means that if we were going to sculpt into the model, the features that we do sculpt are going to be a lot easier to see in a different tone. We don't want the tone to be too light, but at the same time, if the tone was too dark, it would be hard to see the shadows and depth that the features create when added to the model. In the end we had decided that we were going to go for the average color, which was a dark orange. We were told that this the perfect color for modeling as it fits the criteria perfectly.
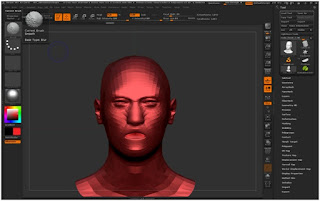 |
| Sculpting the Low Poly model. |
I started to have a go at sculpting into the characters face, just to see the effect that it would have on a low poly model as this (about 2000). AS there is not much to work with, the brush pulls all of the faces, depending on the brush size, giving it a dramatic effect. This does not help if you are trying to create detail. This means that we have to up the poly's on the model, which gives us much more significant areas to work with, it does this by making them smaller and smaller, but increasing the poly count.
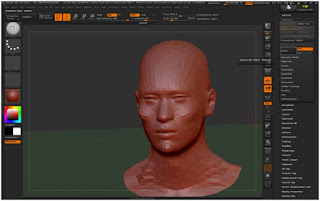 |
| Increasing the Amount of polys to add detail. |
The poly count has been increased slightly, but you can already tell the difference that I am getting from playing around with it. The model as a whole has become much more rounded, meaning that the faces are not visible, also if I started to sculpt we can put in a fair bit more detail, but at the moment not enough. If I concentrate on a area too much with the brush, it starts to become distorted. You can see on the neck and the shoulders you can differentiate the polys from the base model.
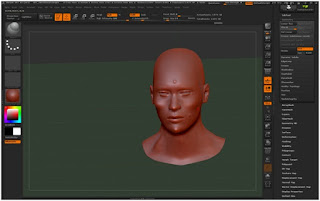 |
| Over 3 million tris. |
We have not got it up to its highest maximum value, which is 3 million polys. This is extreme when it comes to polys and will defiantly not be able to be used in the game, as it could crash the entire thing. The whole point in doing this is so we can get the detail and then bake it on to a low poly model, which will replicate the detail to look high poly. We want an extremely high poly model to sculpt into so we can create significant detail. As you can see in the picture above, the model itself is much more rounded out and looks exactly like a head. I started sculpting out circles, creating boils, just to see what effect this would have on the skin. At this amount of polys, creating detail is not a problem and doing something to one side of the face doesn't affect the other, which is something that we would like to see.
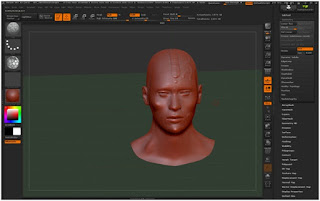 |
| Changing the Alpha of the brush to create an imprint. |
The last thing that we learned about was the use of the alphas. This was very important when it came to ZBrush as it was like a template that the brush. For example it we wanted a brick like texture, you would select the alpha that suited it. and apply it to the model. It was extremely easy to use and will come in much use over the rest of the course when it comes to doing detail in the model. On the image above I had used the rocky alpha on the top of the head, which looks very detailed.
I have had a lot of fun when playing around with ZBrush. It is ultimately something that I want to use in the future a lot more and this session has only encouraged me to use it a lot more. I will definitely find the time to use it, the most likely scenario being if I wanted to make in-depth detail, like scratching paint and dents and a metal object, then baking a high poly onto low poly, this will be the first place that I turn to.


No comments:
Post a Comment