We were given the task from Robin to create a boy in Maya and Texture him. We were given reference as well. By doing this we had a set of instructions/guidelines that we had to stick to. Using Maya, we would make this person and then cut and unfold the U.V's, then taking it into Photoshop, we will add the texture and then after saving it as a targa file, We will bring the U.V's back into Maya and place them on the character.
Lucky for us Robin had a scene up in Maya, in it was a two blocks and the two pieces of reference in the right position. When we had modified the block, the other one would end up doing the same thing, so he had mirrored it so that we get a perfect result all the way round.
 |
| The side of the reference. |
 |
| The front view of the reference. |
The scene was pretty straight forward, all we had to do was shape the shoe in a perfect position, this was very simple as all I had to do was extrude and then rearrange the edges so the the geometry stayed perfect. The main idea was that this character was there to be animated, so the everything on the character needed to be in the right place. The rest of the character was simple, if I needed a bit of an edge, I would move a vertex or if I wanted to make the character more round, such as his legs and torso, I would move an edge into a diagonal position.
 |
| Using the reference to model the character in Maya. |
As the character was being mirrored, all that we needed were the first half of the model. After we had got the character to a complete state, we would then use a tool called the merge vertex tool. This was extremly helpful when it came to sealing up the model as all I had to do was merge a few vertex's.
 |
| A completed half of the model. |
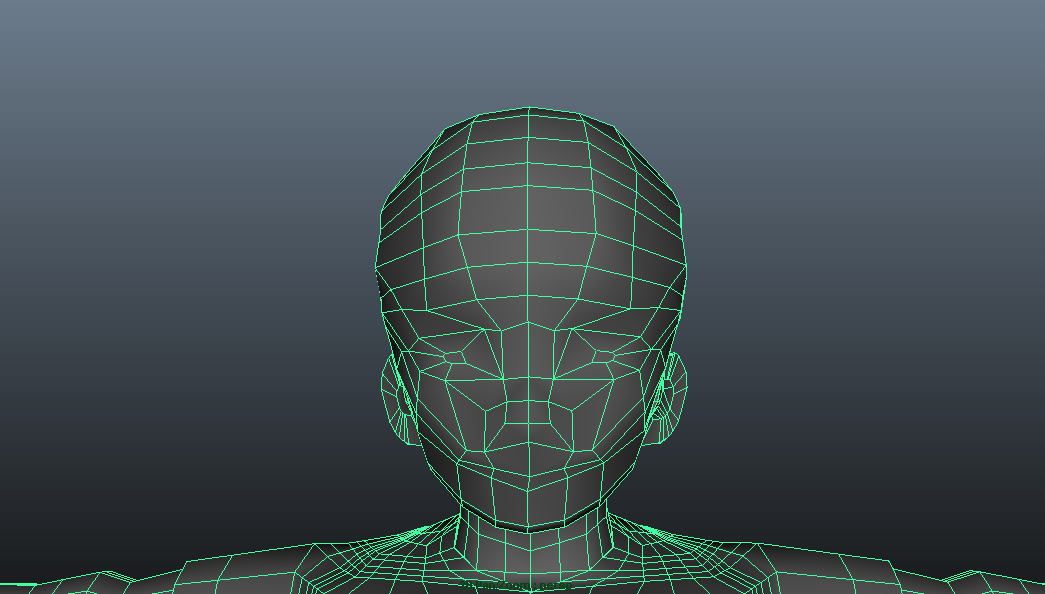 |
| The finished head. |
The head was by far, one of the hardest things that I have had to model on Maya, this may be due to the abnormal size and the roundness on it which made it difficult to model. Another thing that I found quite difficult to model, was the ears, it was not as if you could pull them out, it required a lot of thing to get past this stage, though when I had got past it, I was pretty impressed with the result. I also must admit, I am pretty proud with the way that the body has turned out, not too many blocks and with an overall round shape.
 |
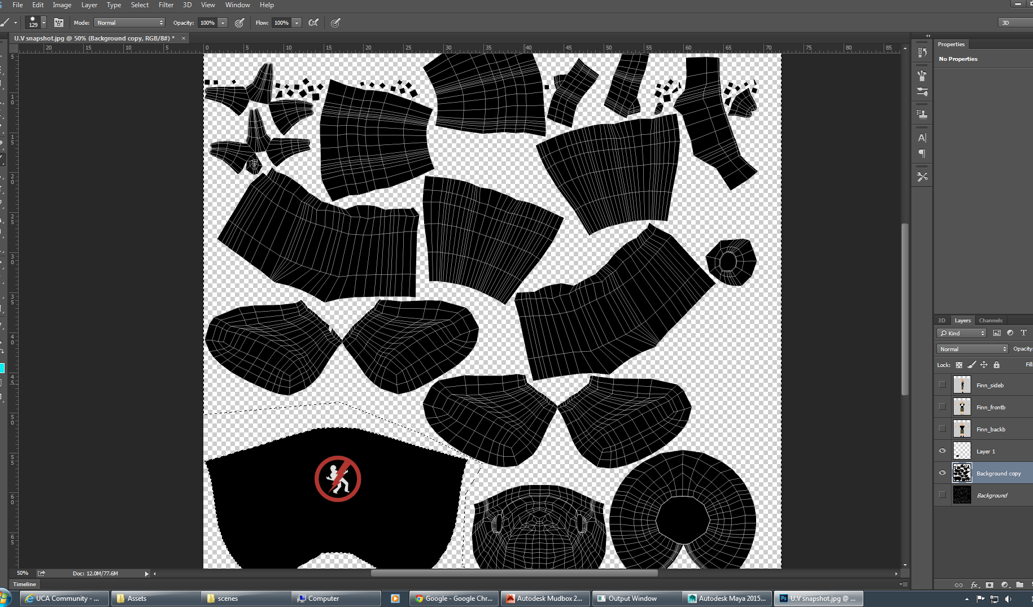
| Cutting the U.V's. |
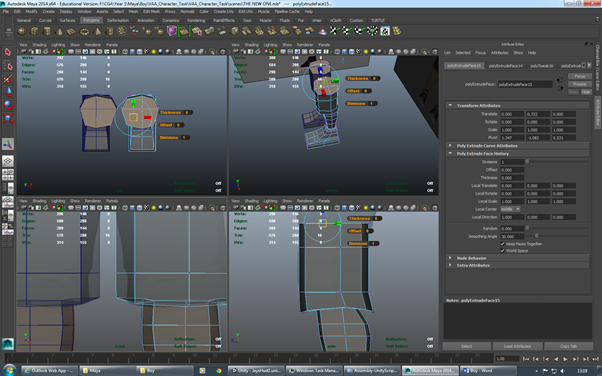
The next the stage of the model was to go into the U.V's. I first went into mapping so that the U.V's were not going to be messy, this also meant that when it came to adding textures to the piece on Photoshop, they were going to be in the right position. The next thing that we were going to do was go into the U.V texture editor, from here, we can edit the U.V's, judging where to cut them and unfold them. With the editor open I selected the edge tool and clicked on the edges that I wanted to cut.There was a tool in the editor which allowed me to cut the edges. Then when I had everything that I wanted cut, I would select all the U.V's in that cut section. The editor also had a tool which meant that I could unfold the cut object. This was perfect as we now had a flat surface to paint on in Photoshop.
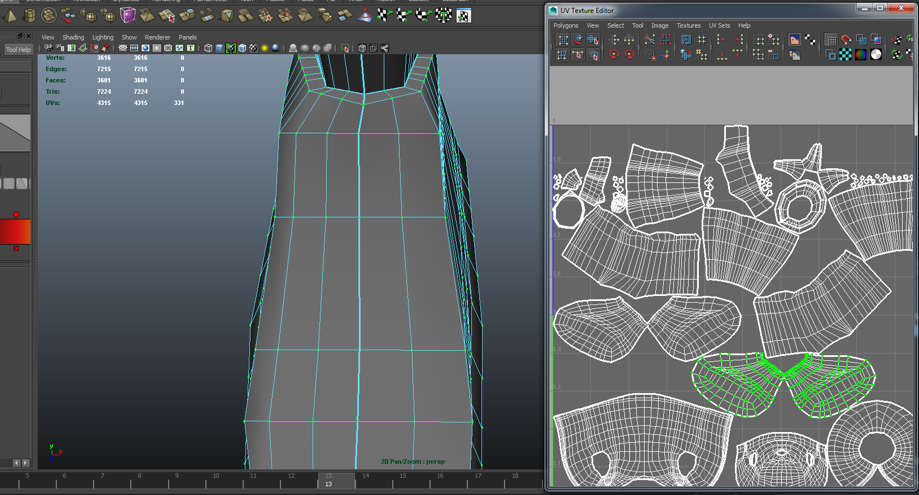 |
| Unfolding the U.V's. |
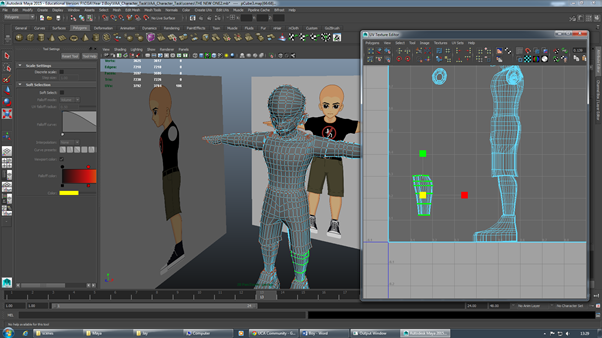
The next thing that we wanted to do was create a snapshot, which was simple enough using the menus, The reason being that we were going to take this Photoshop and this sets up the perfect canvus to make the transition between the two different programs. Once we open it up on Photoshop, the next thing to do was to add the textures onto it. Now, this could be done through a variety of different ways, one of them being painting over the top of the U.V and placing images over the top to support it. This was the route that I took. It was extremely simple and the way that I checked it where by saving it as a Targa file and presenting it as a material on top of the model, making sure everything was in place. I continued this until I had got the final result.
 |
| Texturing the U.V's in Photoshop |
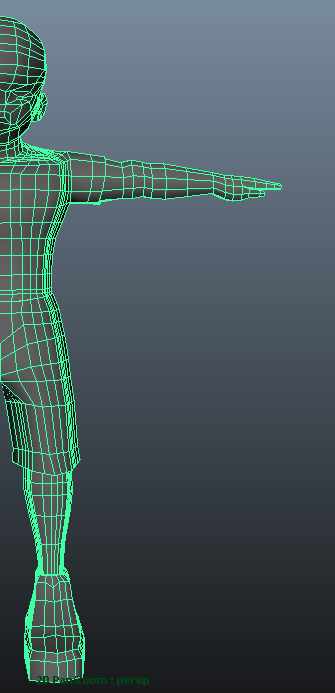
Here I have to finished model which has been clicked to show the geometry of the character. There have been some areas where I may have added a bit too many edge loops, some which are not doing anything, but besides that, everything seemed to be working perfectly and looked to be in the right order.
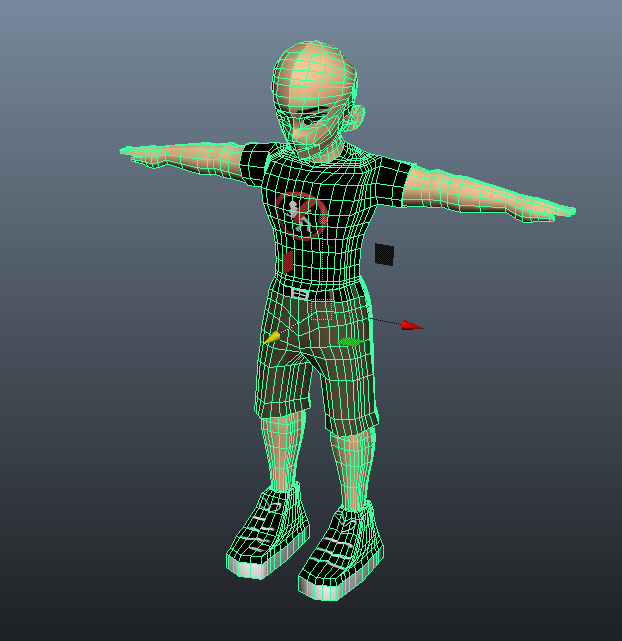 |
| The mesh of the fully textured. |
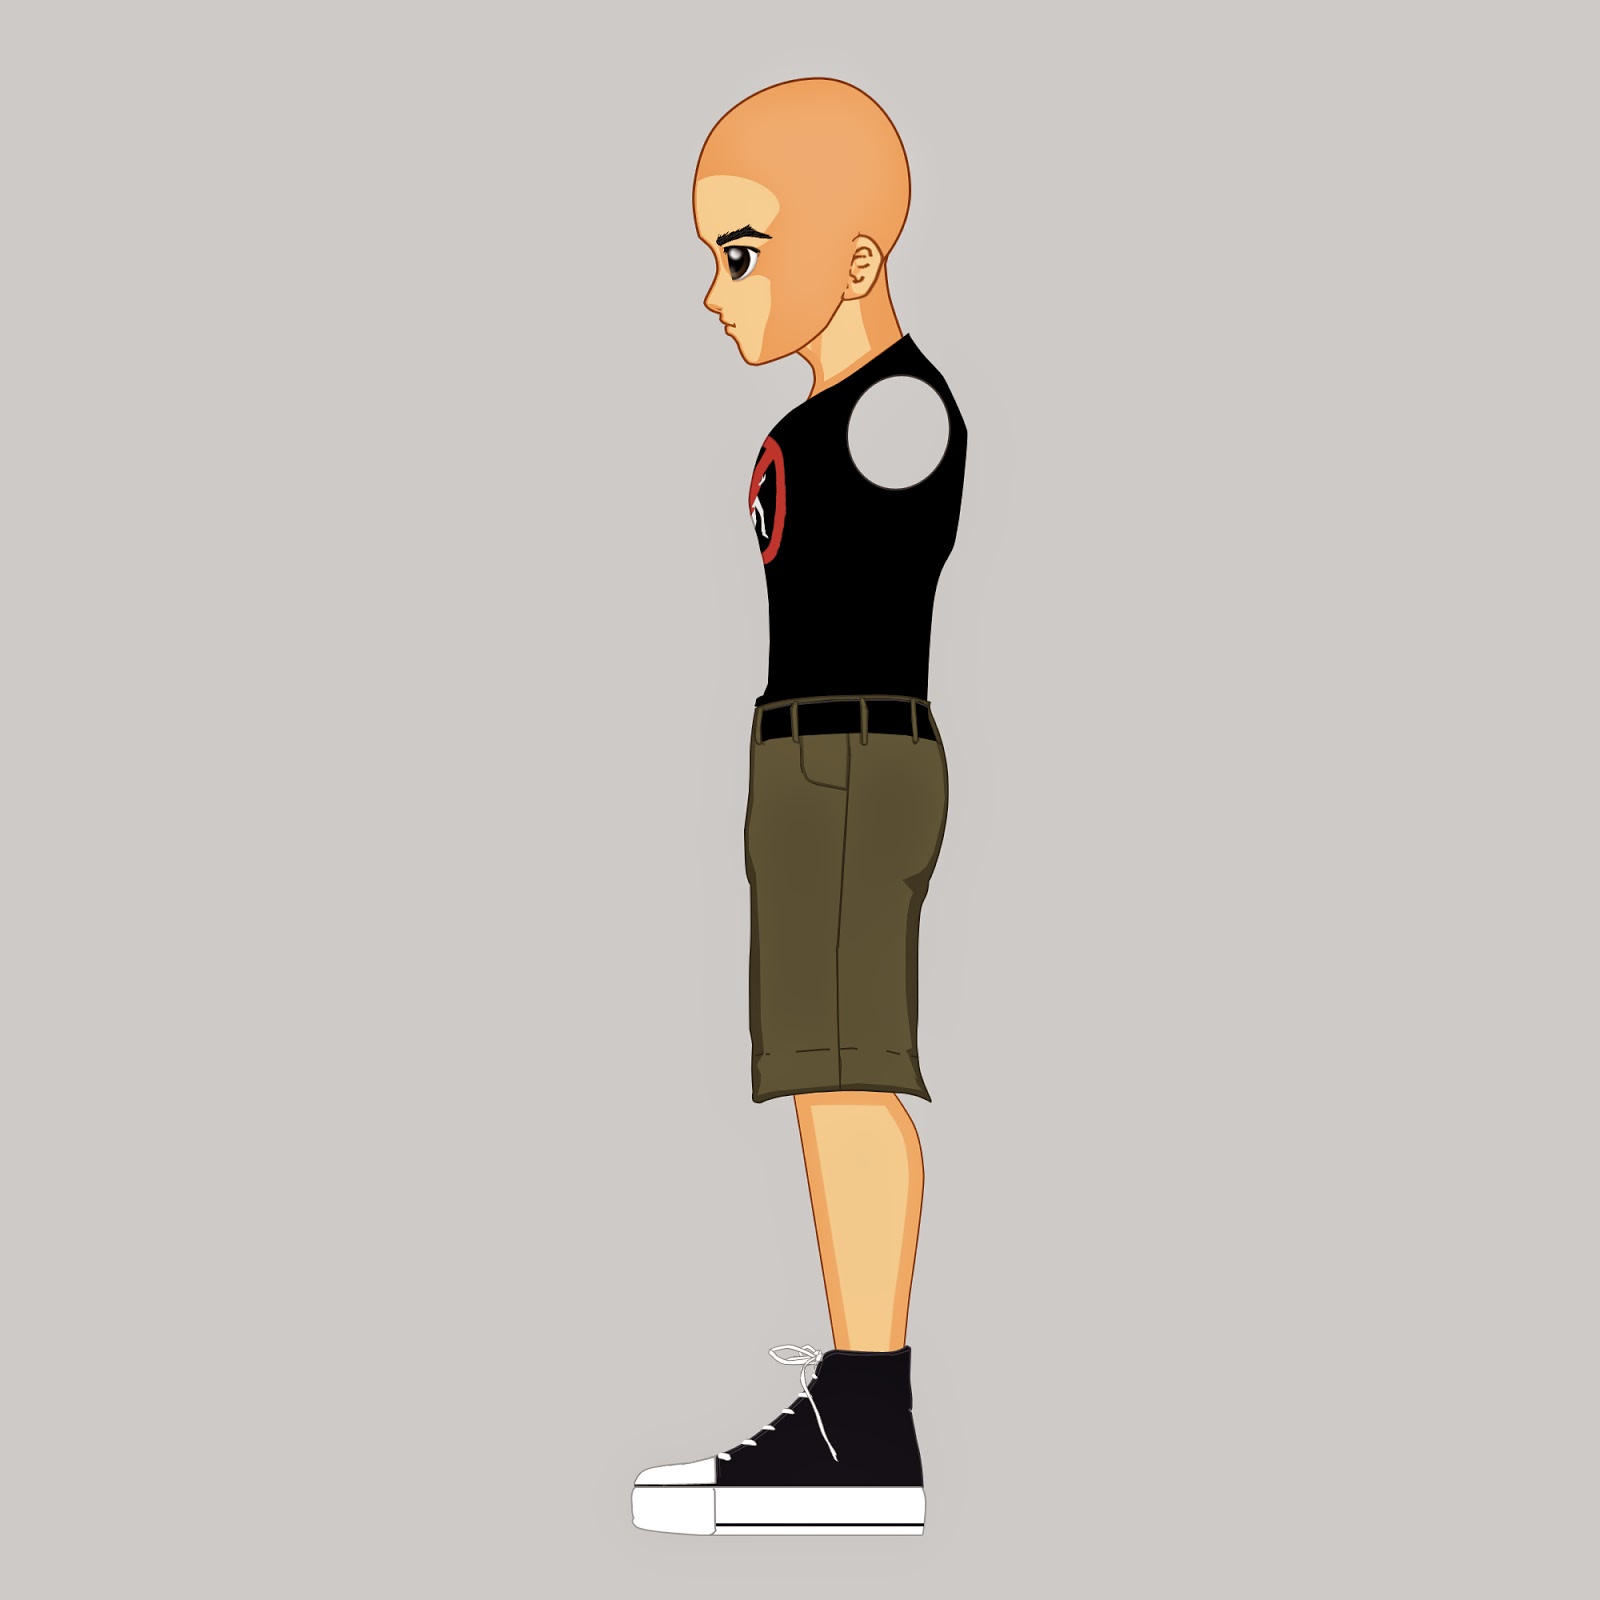
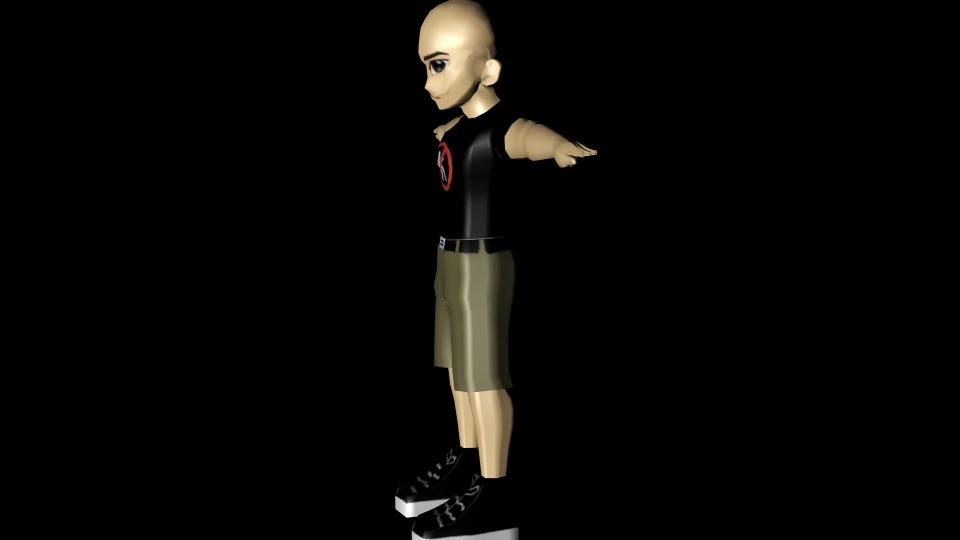 |
| A side profile of the final model. |
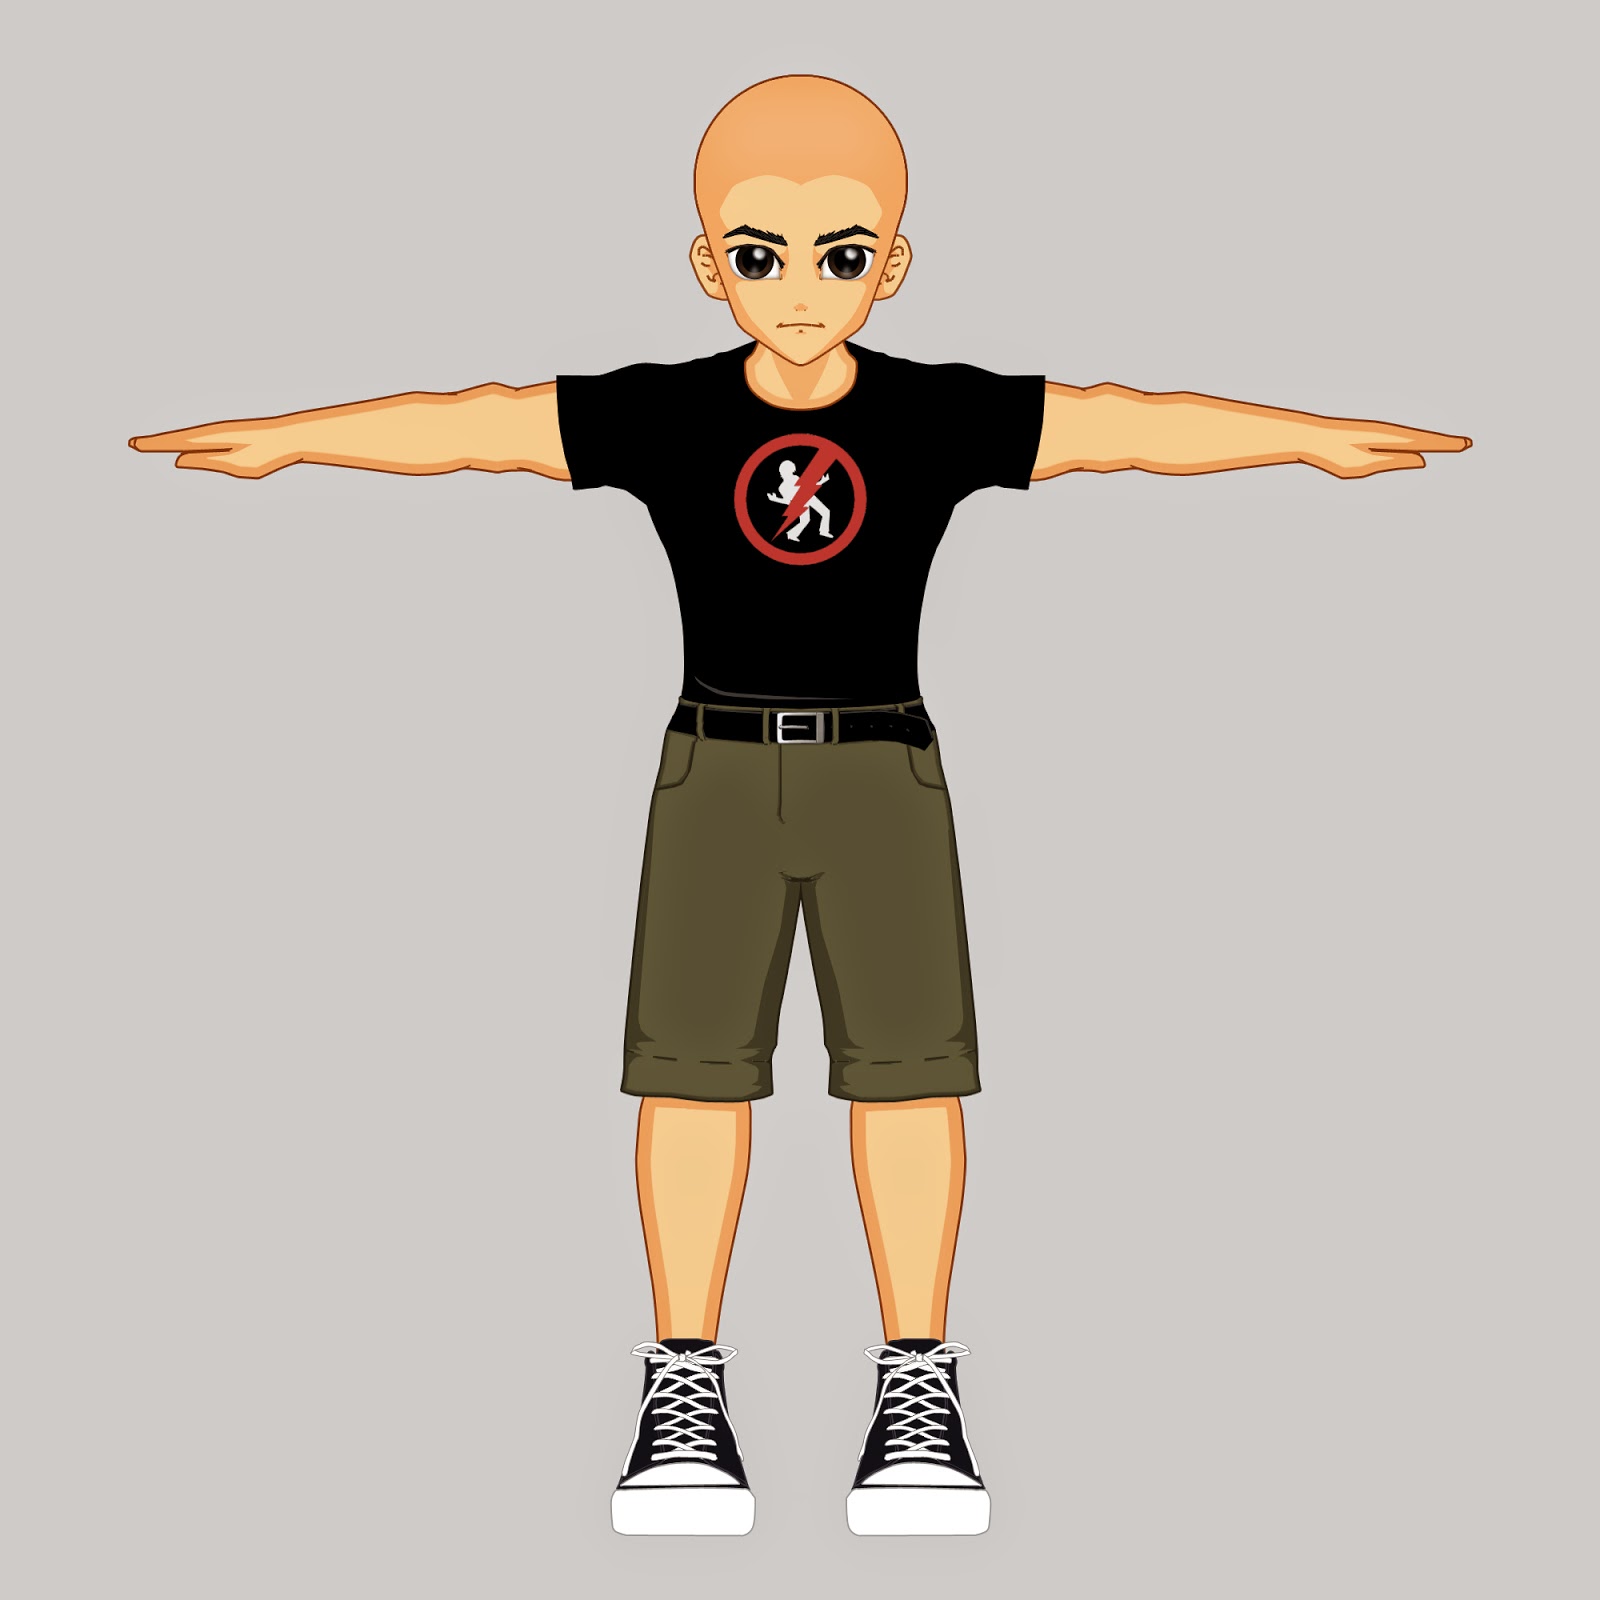
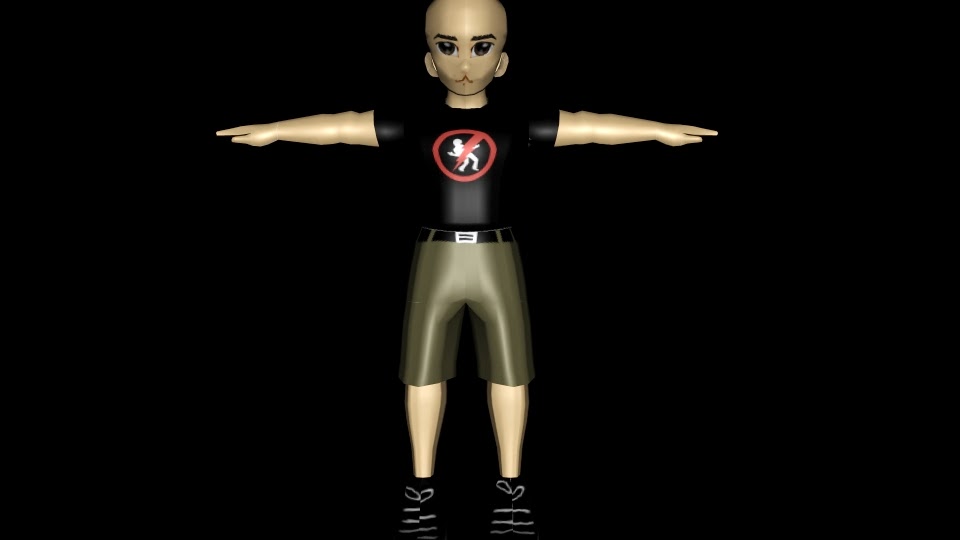 |
| A front on view of the final model. |
Once I got into this project, I actually really started to enjoy it, but the part that I was surprised about the most was when it came to texturing the character. If you look through my past experience, there has been a lot of struggle in this area, so to come out with a pretty decent result, I was more than happy.
One thing that did annoy me was that I had made a mistake when it came to cutting the U.V's and by the time I had realised it, It was already too late to go back and alter it. The shoes, texturing wise, was actually quite had and I think that it may be down to the fact that I had made a mistake and could not fix it.
No comments:
Post a Comment