Going back to our T-Rex, we were told today that we were going to be unwrapping the U.V's which meant that the creature would be ready to texture. When we were first told that we were going to be doing this I was extremely happy. Not only did it link to the game that I would be making with my team but as I only had a vague knowledge on the subject, I would like to improve my skills on this area dramatically.
We started off the project by uploading the T-Rex that we did last week. Robin had also provided us with a T-Rex already done and ready to cut just in case something went wrong with our own projects and we needed to restart, we had that back-up. We selected the T-Rex and went onto the U.V snapshot. By doing this, we had all the U.V's appear. The result is below.
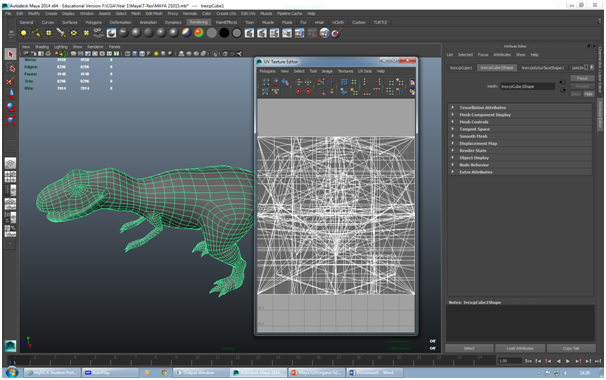 |
| A snapshot of the U.V's. |
The result is very messy and you cant see exactly what you are doing. The way to fix this is that you select the object that you want to map and go to the "Edit U.V's" selection. After this, you select the Plannier mapping button. This makes all the U.V's on the snapshot appear as full image. This means that you can see what you are doing and then proceed on to cutting and unfolding the U.V's.
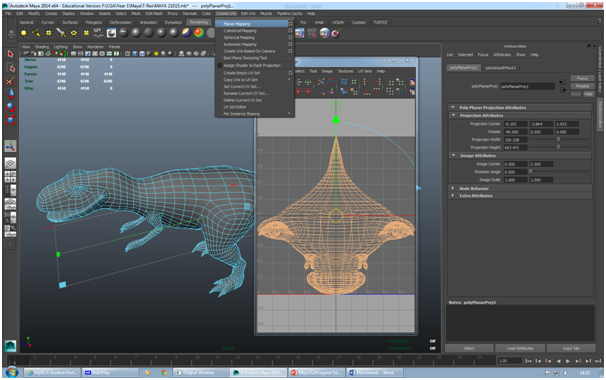 |
| After plainnar mapping. |
At certain points on the Tyrannosaurus Rex, we want to cut into the U.V's. By doing this, it means that we can then unfold the U.V's, which in turn makes them ready for texturing. First things first, we needed to decide what sections of the T-Rex we are going to cut. We need to think carefully about how we do it, because we could end up cutting too much of the U.V's, making it much more difficult to texture.
I started off with the leg, so I cut a full circle around where the leg starts by using the edge selection tool and then cutting tool, This was going to be the starting point for the U.V's on the leg. The bottom point would be the ankles, not the feet themselves, as they and the toes have their own rounded parts, which would not turn out as good as it could be, if I continued with the cutting process. The next part was to create a split down the middle. This would be the point that would create the fold, where the leg will separate. I then had to select the U.V's by right clicking and selecting U.V. Next, I had to select all the U.V's in that cut. The last thing that I had to do was go to the settings and select "unfold".
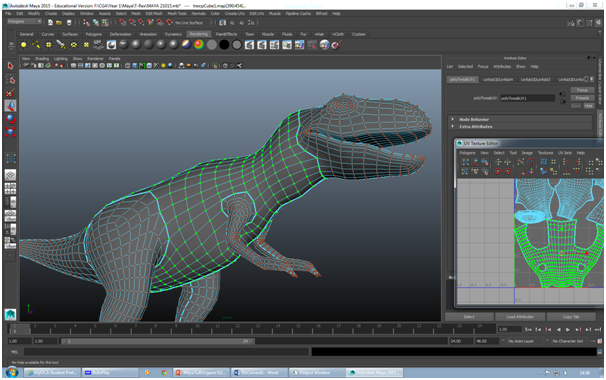 |
| Selecting the U.Vs ready to unfold. |
After I had repeated this process on the rest of the creature, and had everything that I wanted unfolded, the model was ready to texture. This could be done in several different way. One of them, taking the U.V snapshot and taking it into Photoshop, adding what you want to it and then placing it back onto the creature as a material. Another way that you can do it, is take it into Mudbox and paint over the top.
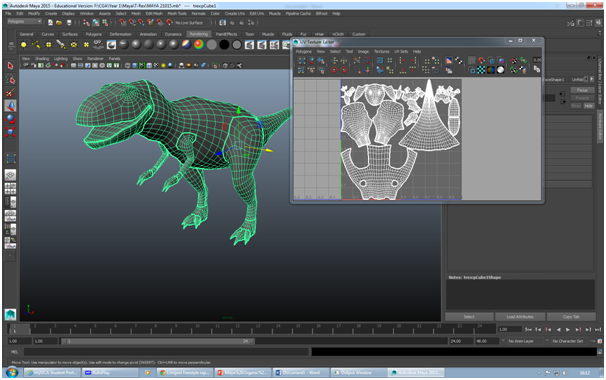 |
| The unfolded T-Rex. |
I am extremely happy that I managed to achieve what I wanted today. This was something that I was quite desperate to learn and its been really good for my confidence to see all of my skills start to stick together and achieve a decent end result. I can only hope that we do more of this in the future as it was also really enjoyable.
No comments:
Post a Comment