Today's lesson involved the Star Wars Death Star turret that we made last week. We were going to add texture to it. This was a thing that I was eager to learn as I wanted to continue my progression on Maya. I did find this whole session to be rather difficult as I ended up asking our teacher Robin for help many times.
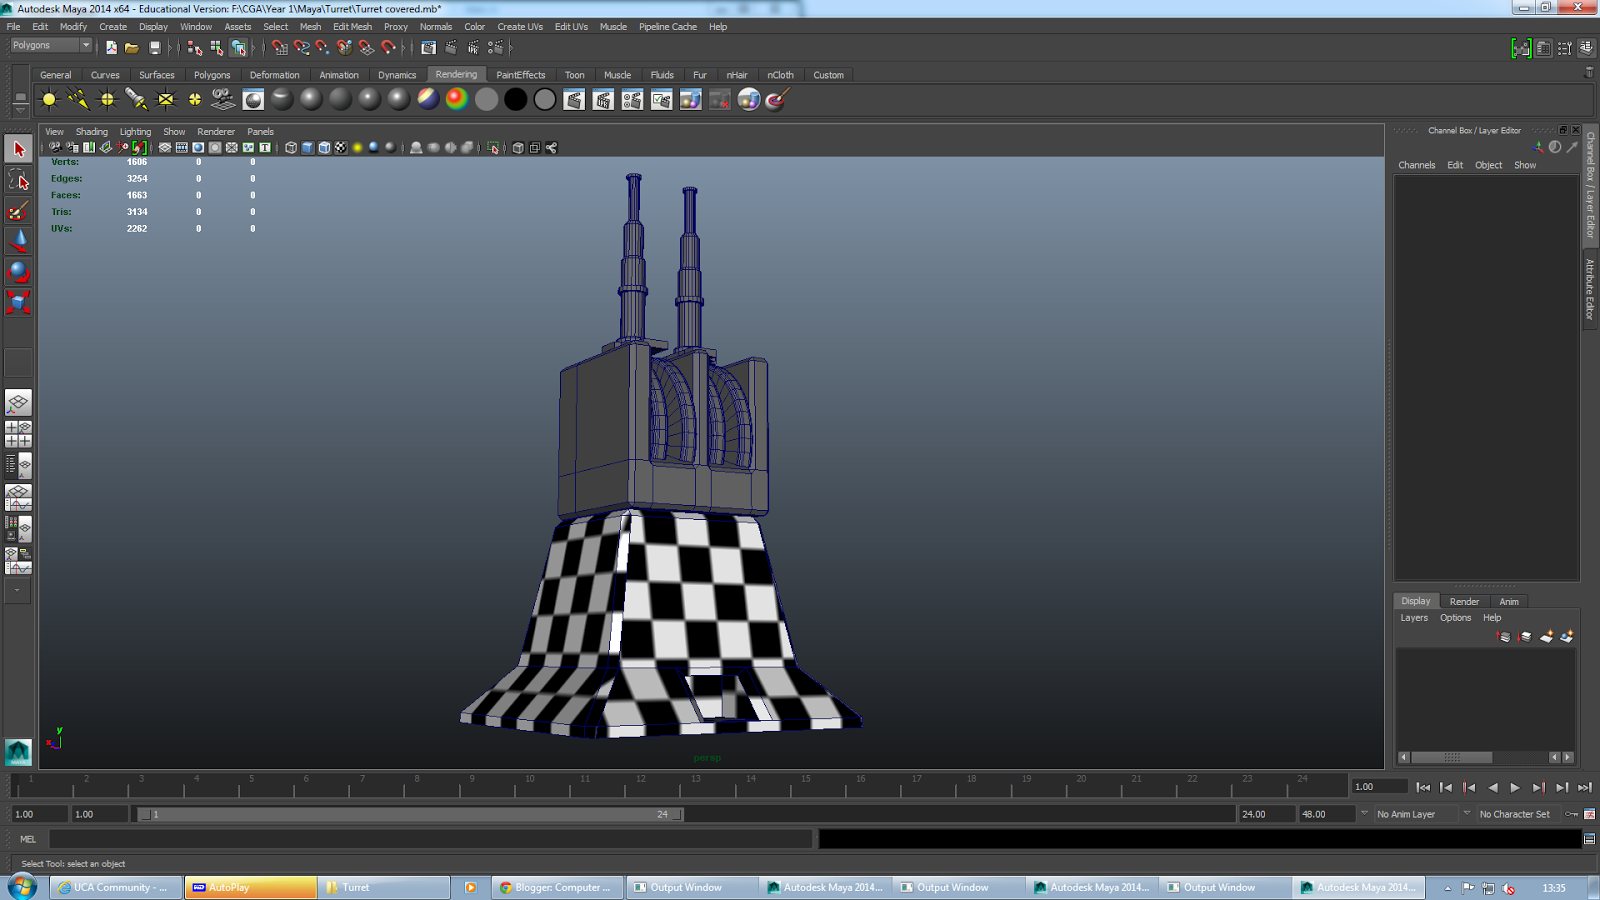 |
| The turret has been covered. |
 |
| This is what the U.V texture editor looks like. |
Robin then proceeded to tell us next lesson, we will be working more on this. As mentioned before, I really did find this an uphill struggle, but in the end I actually did enjoy it. I'm starting to feel quite at home with Maya. Not that I have made a decision into what my future holds already, its just at the moment, im getting on better with this than I am with other parts of this course.
No comments:
Post a Comment